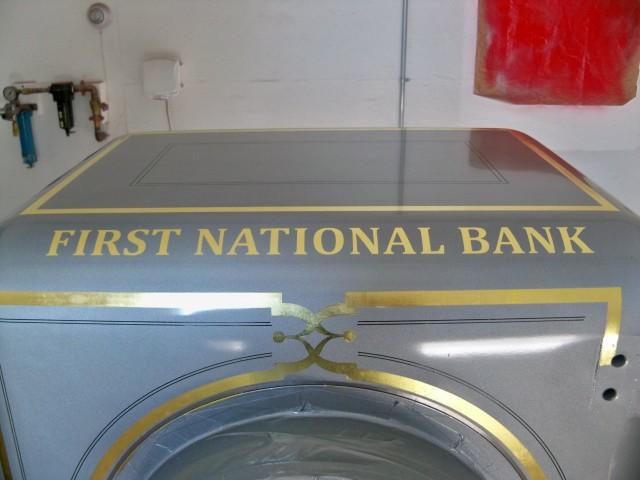
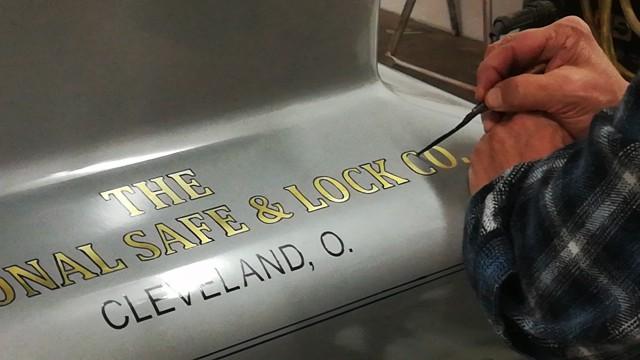
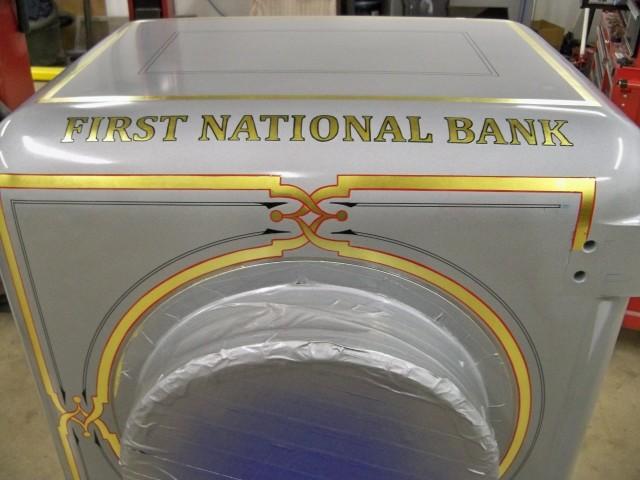
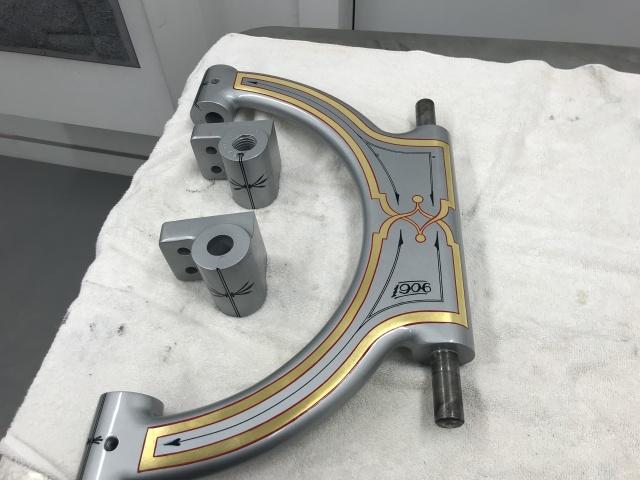
It is always fun to put together newly painted and plated parts but it is also tedious as you don’t want to scratch anything. Working slow, thinking before doing anything and using lots of masking tape to protect fragile surfaces becomes standard procedure.
First the hinge was put back on the body. I was nervous about this step but the bolts fit in the hinge pockets very tightly so they had to go back to the same position that they were in originally. The hinge is not adjustable.
First the hinge parts are prepared and the lower bearing assembled. There is that extra spacer that was made on the lathe.
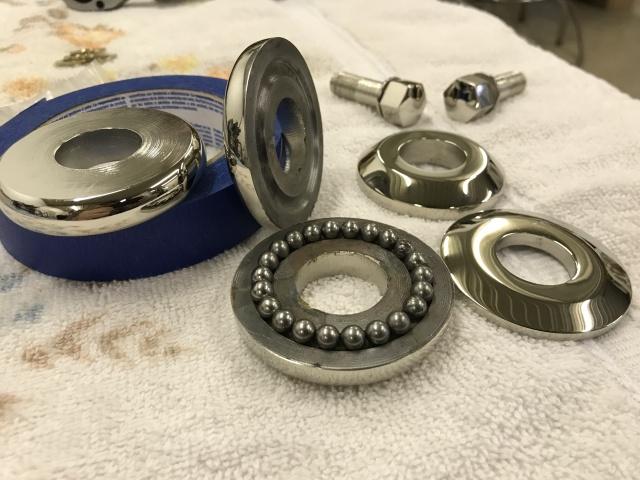
The hinge is fit.
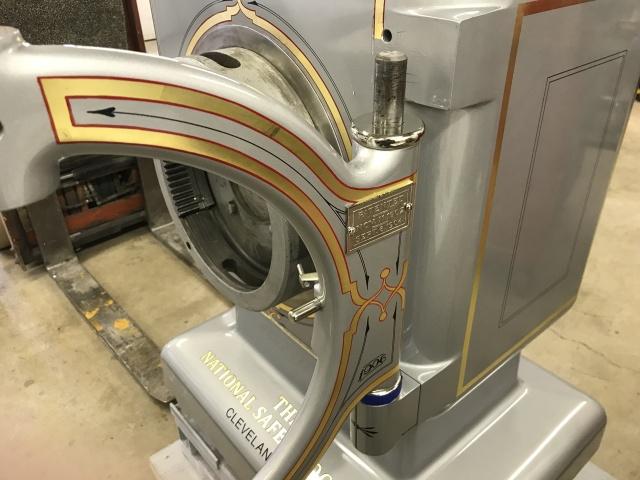
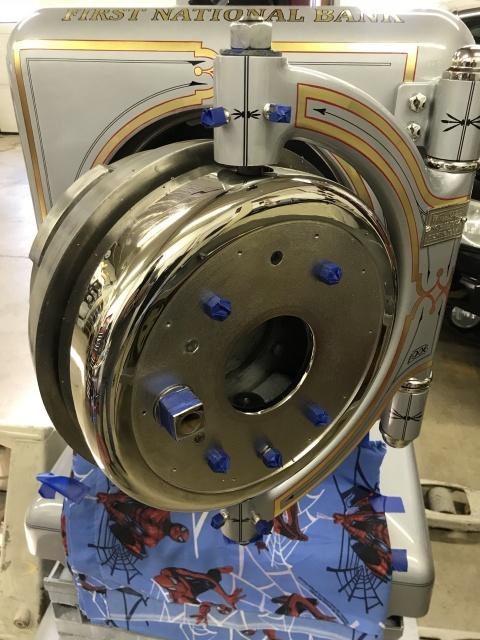
All bolts and shiny parts get taped to protect the new nickel plating. Plated washers were added to prevent the bolt heads from scoring the paint.
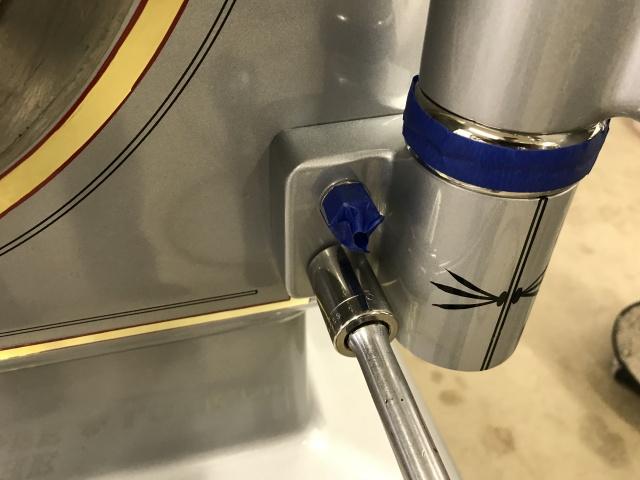
Next came mounting the hinge to the door that has been in the body for many months. The door is supported on two carriages (four wheels on each one) that the door pivot bolts pass through. The carriage wheels track in grooves in the door. The door cover bolts to the carriages to lock it all together as one unit. It took a number of installs to get things right. The door pivot bolts not only adjust vertically by turning the large polished finials, they are also adjusted in/out and left/right by four adjuster bolts on the top and bottom of the door end of the hinge. It’s a very complicated adjusting procedure. I struggled to get the door to fit well but after many tries all of a sudden I hit the magic combination and the door fit the opening perfectly. Once all bolt adjustments are noted, it comes apart one more time to grease and oil all surfaces.
The door carriages, the dial cup and ring are also installed in this picture.
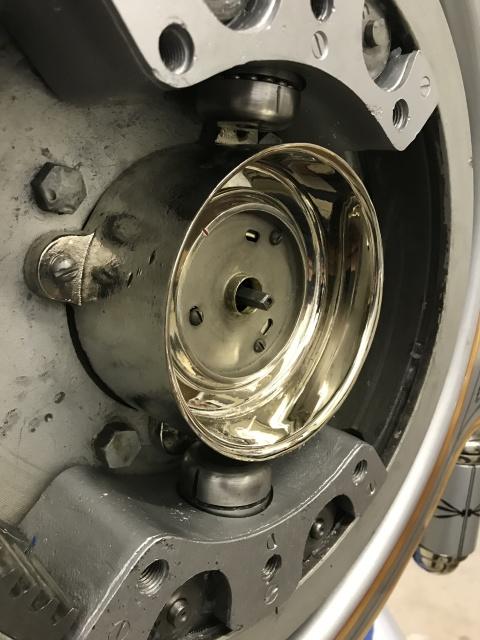
Trial door fitting.
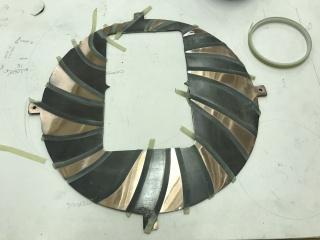
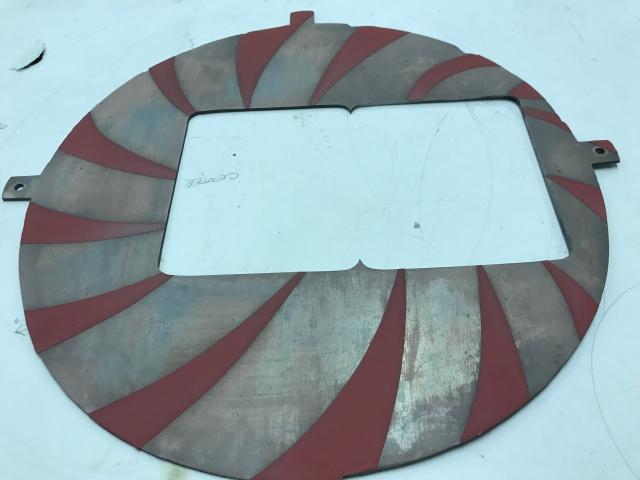
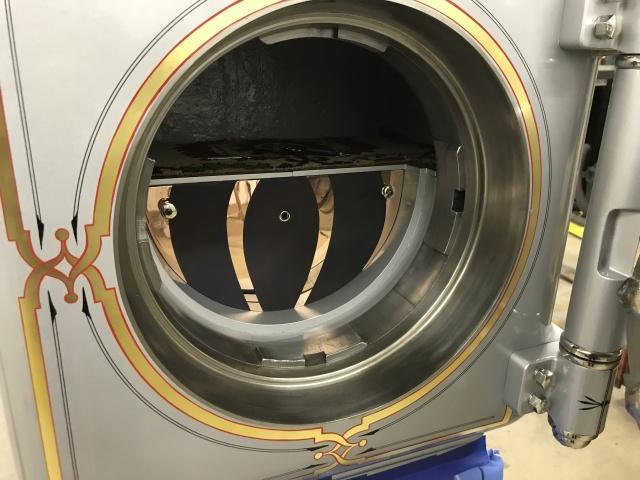
Once the door fits the hole the next challenge is adjusting the door lug ring and inner lug ring that control the position of the door rotating as well as the wedging of the door in the taper of the opening. Ideally, the door wedges tight just as the rotation hits the stop where the locking bolts can be thrown out into the slots in the inner ring. This will make the door seam impenetrable to nitroglycerine attacks. I set the door tolerances loose so as to reduce strain on the door drive system. No reason to protect against nitro in this over regulated day and age. When I disassembled the lug ring it was shimmed about .035 with cut up 1906 time cards from the National factory. I shimmed with .046 (uncompressed) gasket material which gave the perfect clearance. The door closes and rotates so nicely I don’t think KY jelly could assist. This whole door fitting process took the better part of two days.
Gaskets on the lug ring.
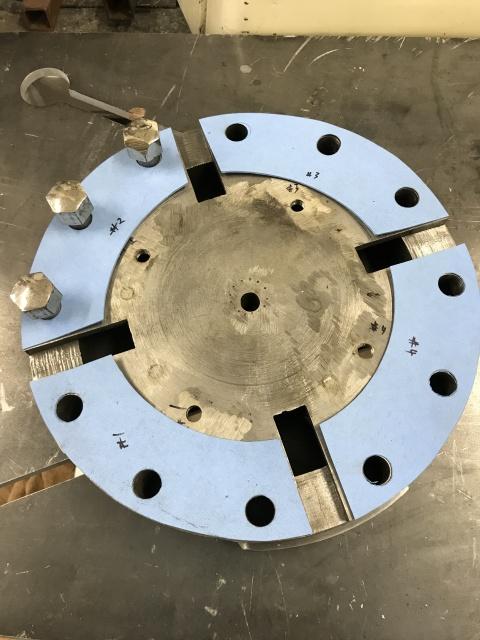
The inner lug ring, inner compartment spacer, and shelf must be fitted as a unit. There is no joy in working with these heavy parts inside a safe!
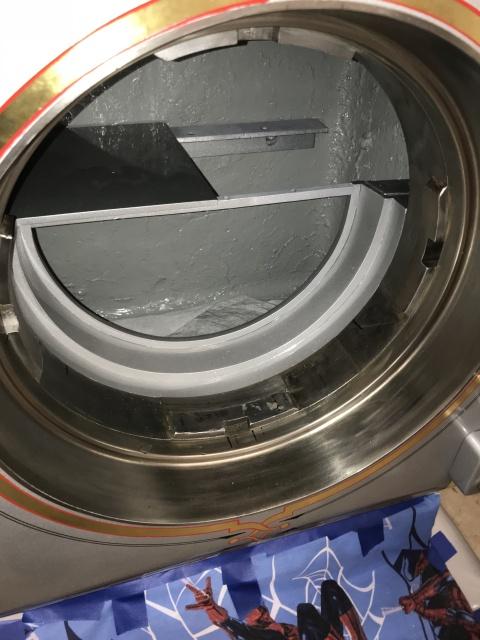
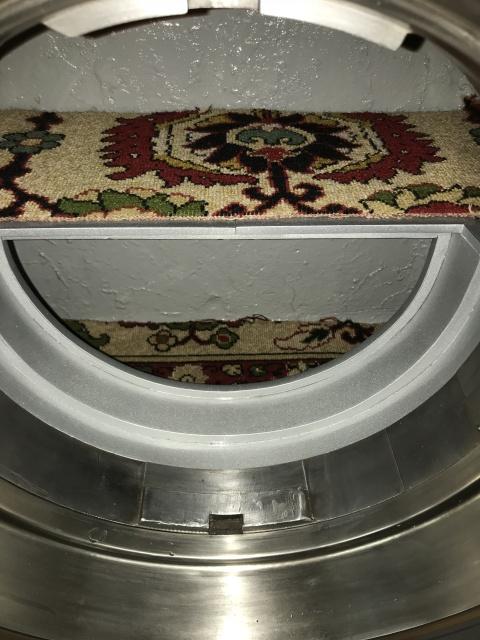
Once the internal fitting is done the shelf is completed, the original carpets are installed and the compartment door.
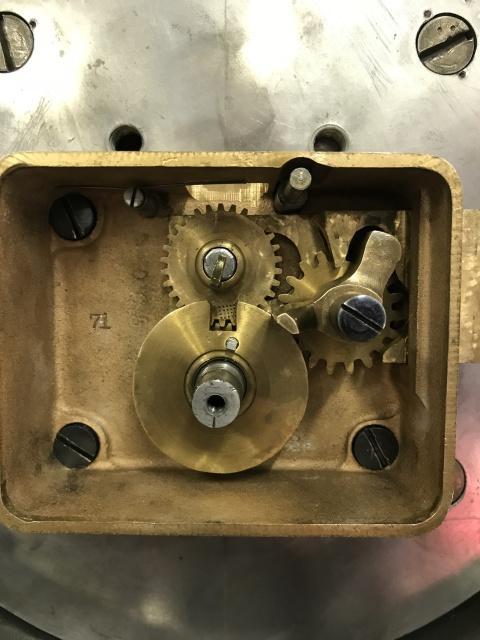
After the door was fitted, final assembly of the lock, time lock, and associated door linkage was next on the list. The lock is a Yale 65 ½ fiction fence model. It differs from most fiction fence locks in that it has a full back cover vs. a wheel pack hole and the friction fence is not a sealed assembly. Instead it is separate pieces and has a brass washer under the pivot bolt head to retain the springs. This lock has a lot of wear in it from a lot of use and the fact that the lock directly moves all the door internal linkage and inner door locking bolts. The internal flat springs were missing inside the friction fence so an external wound spring was added to replace them which added extra drag and wear on the wheel pack drive wheel.
Inside the 65 ½ Yale lock.
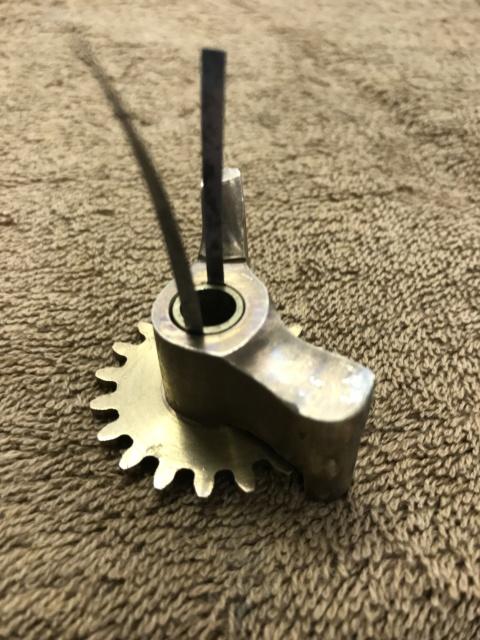
I wondered how I could repair the friction fence and what I could use for springs. While measuring clearance on the door lug ring the feeler gauge in my hand provided the answer. The high carbon feeler gauge shims are similar to spring steel. After measuring inner and outer diameters and the grooves in the fence I calculated .006 would be the correct thickness. I cut two strips and assembled the fence only to find it rotated a bit stiff. Dropping to .004 gave about the right feel but one of the strips could slip out of the groove on one end where the hole of the fence was worn. I switched to a .006 strip on that side after ever so slightly filing the groove. Now the fence had good rotational friction and the springs stayed in place. I hope Doug approves of this repair.
Grooves inside the fence.
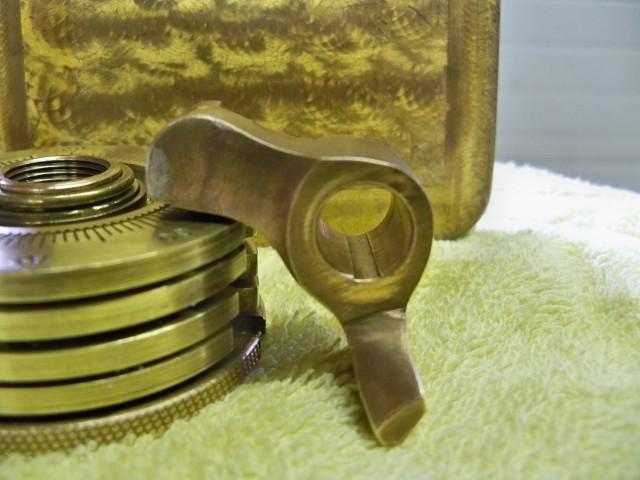
Fitting new strips.
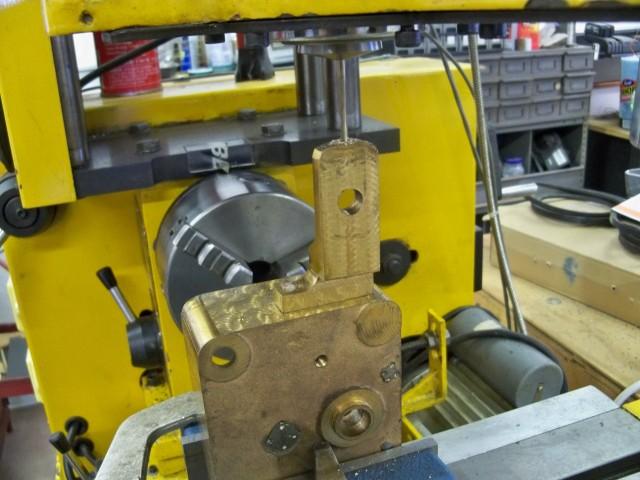
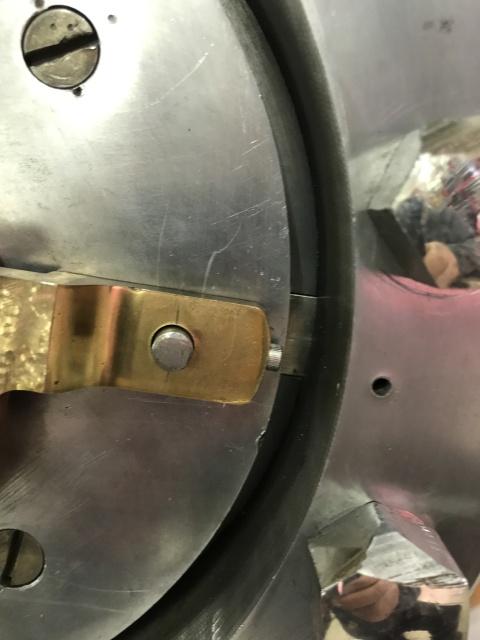
Wear inside the lock also allowed the lock bolt to side out to far if the dial was turned forcefully to extend the bolt to lock the safe. If that happened, the friction fence would jam against the outer edge of the drive wheel gate preventing it to pull into the wheel pack gates. This would cause a lockout. To prevent the bolt from extending to far it was jigged into the mill and a hole was drilled into the end of the lock bolt. After threading the hole a socket cap screw was machined to the proper clearance to contact the outer ring of the door.
Drilling the lock bolt.
New lock bolt stopper in place.
Here is a video of dialing action inside the lock so you can see how a friction fence works. Also shown is the simple pivoting lock operated by the time lock to prevent the retracting of the lock bolt. And finally, all the inner door linkage that must be moved by the dial to activate the internal door bolts. My sloppy dialing is accompanied by ZZ Top.
[video=youtube;OGrz01SA1WE][/video]
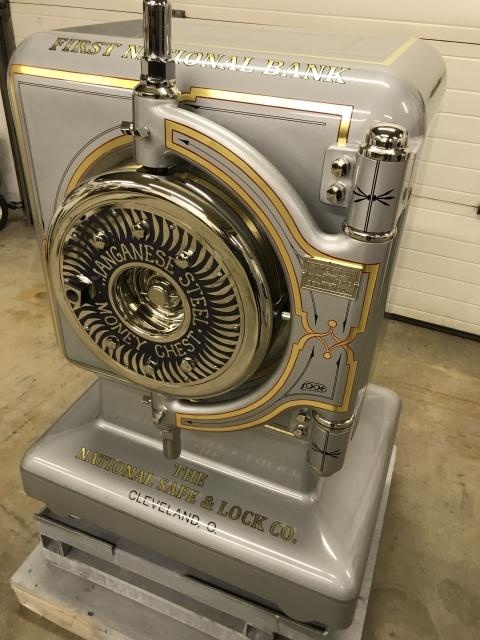
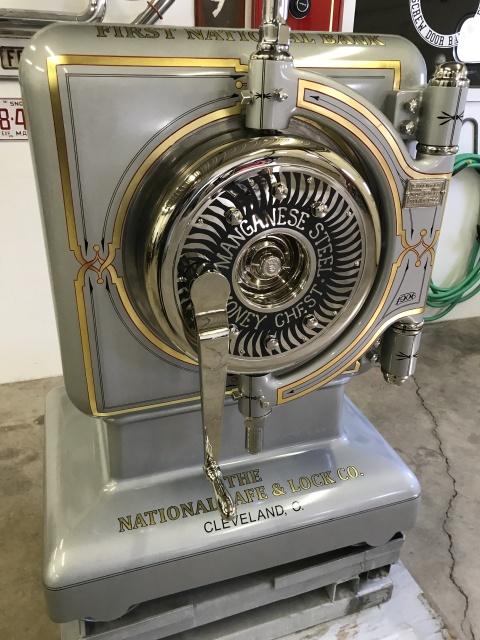
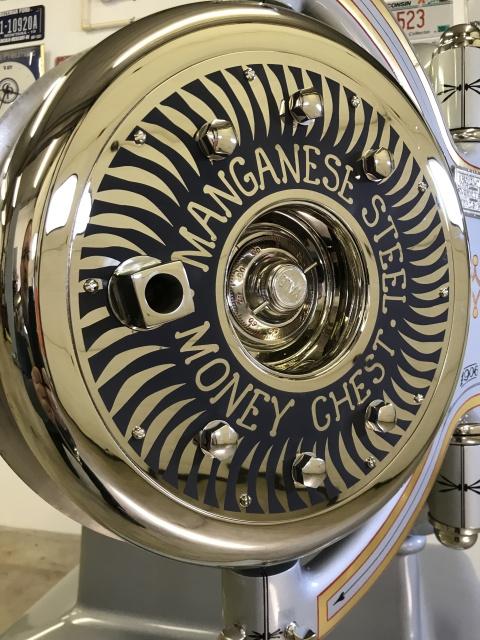
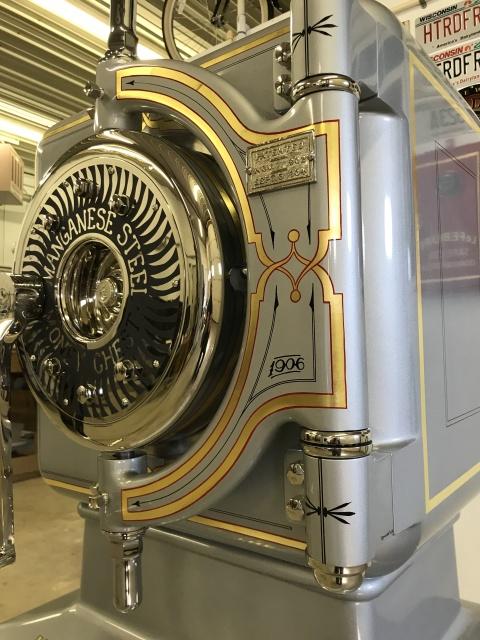
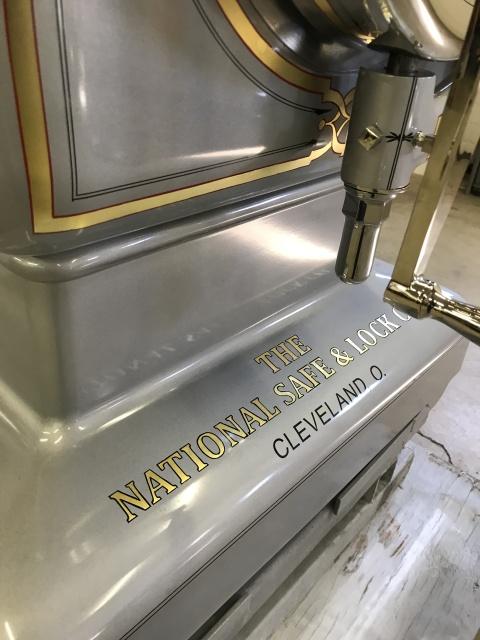
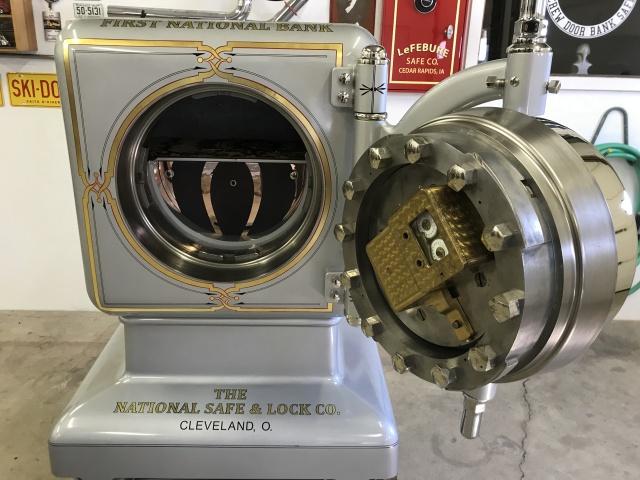
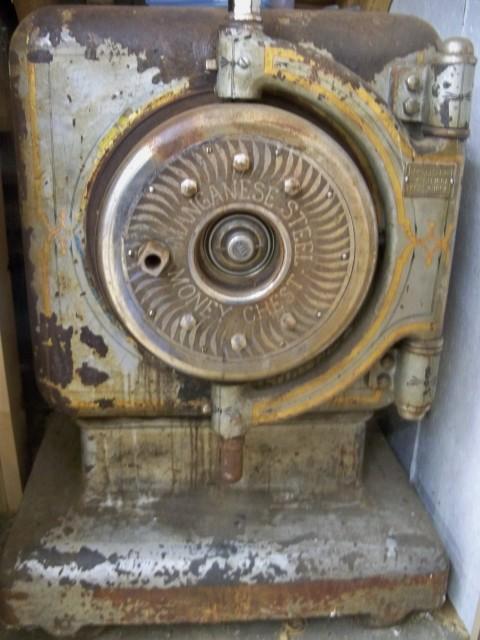
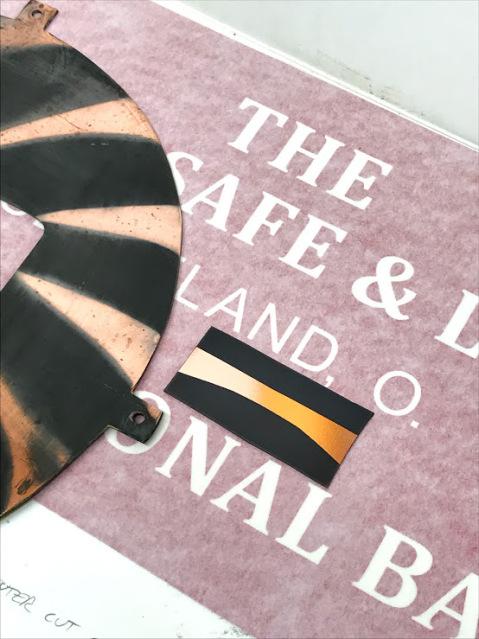
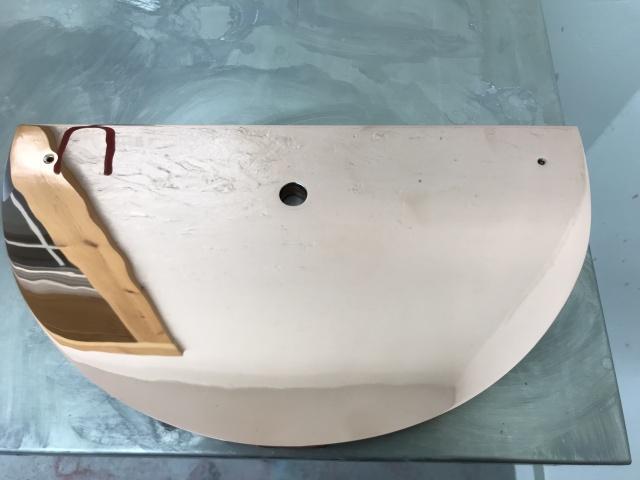
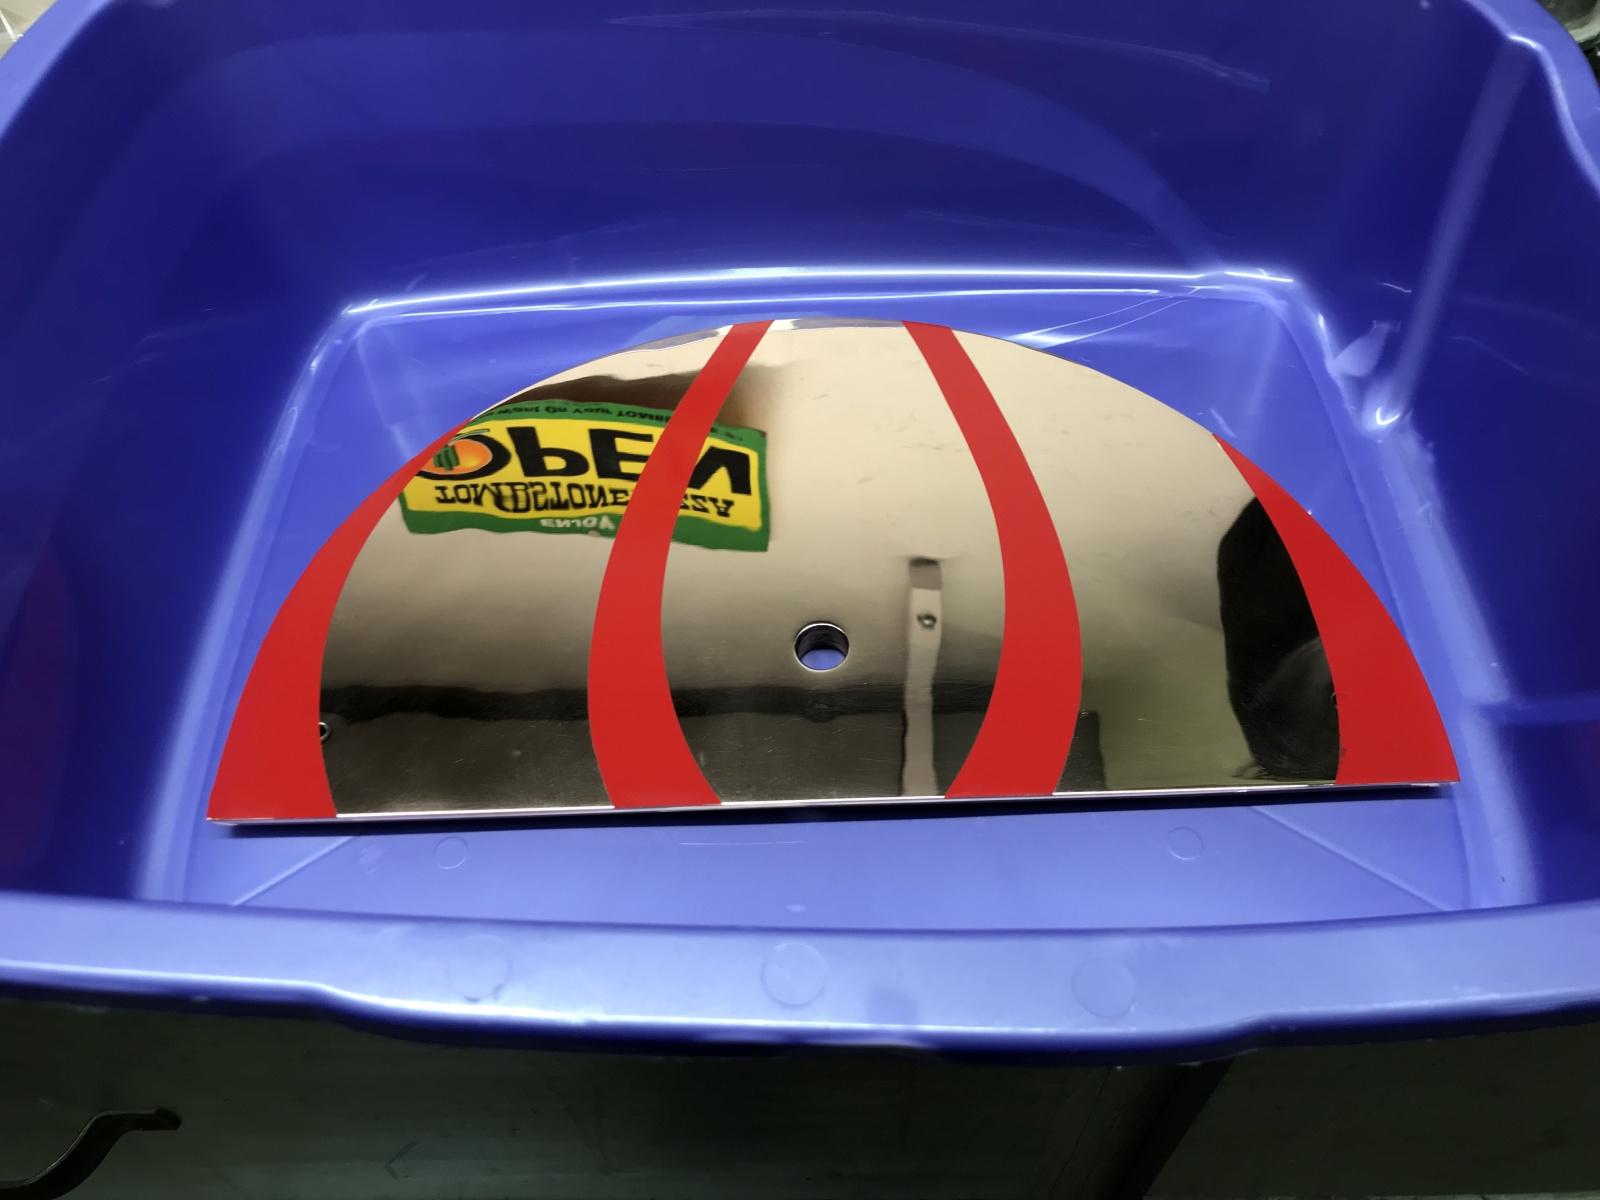
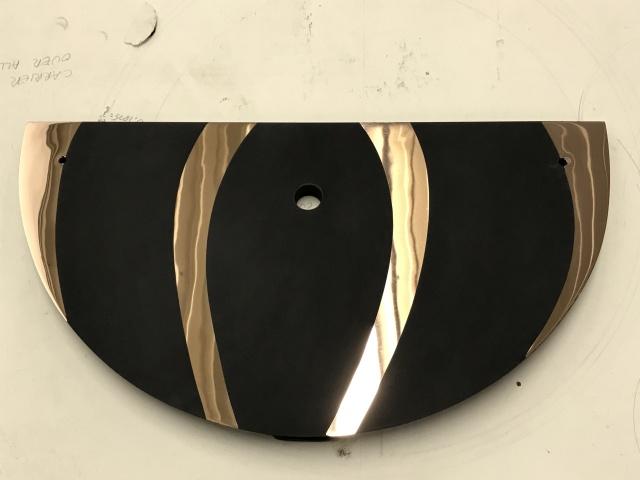
The door is now complete other than the rear door cover. It has been fitted and sent out for new copper plating. The twelve ¾ inch bolts that hold the lug ring to the door still need to be replated but I have to repair some damage to five of them. Other than that, the National Manganese Steel Money Chest is finished. Drum roll please.
In all her glory…